Uncle Mikey Talks Nerdy about Building a PC
Fiction is eluding me. But I apparently have a lot to say about the process of building a PC!

So, fiction is proving elusive, but rather than start a different blog when I already have this one (and like Ghost as an environment), I'm going to write up my experiences building a new gaming PC. I've already recorded some videos about this—two streams on Facebook and a full recording of the build that I still need to edit before I dare post it, but I know not everyone likes videos.
Why build a PC?
Obviously, in 2020, there's no need to build a PC, especially if your needs aren't very "special". Even if they are, you can often buy a pre-built PC and add what you need after the fact. So why did I do it?
Time vs Money
For the last 15 years or so, I've chosen to trade money for time. Knowing what my time was worth, and knowing that, as a non-expert, building a PC would take me longer than it would take a practiced expert, I was willing to spend extra to buy something that was ready to run.
Furthermore, there are times when the cost of building your own is not that much less expensive, even not accounting for time, than buying pre-built. Manufacturers don't have a lot of pricing power, especially in the low- and mid-range "consumer" market, so if components get more expensive, their margins shrink, but the cost of building your own with those same components goes up.
Right now, the equation is different. COVIDTopia means I'm home a lot, and have plenty of time on my hands. Component costs are not exactly rock-bottom, but pretty reasonable. It is possible to build an extremely performant system without mortgaging a kidney, and beating what you would likely pay for comparable specs in a pre-built system. So, this time, I chose to spend some time in lieu of money.
Changing circumstances
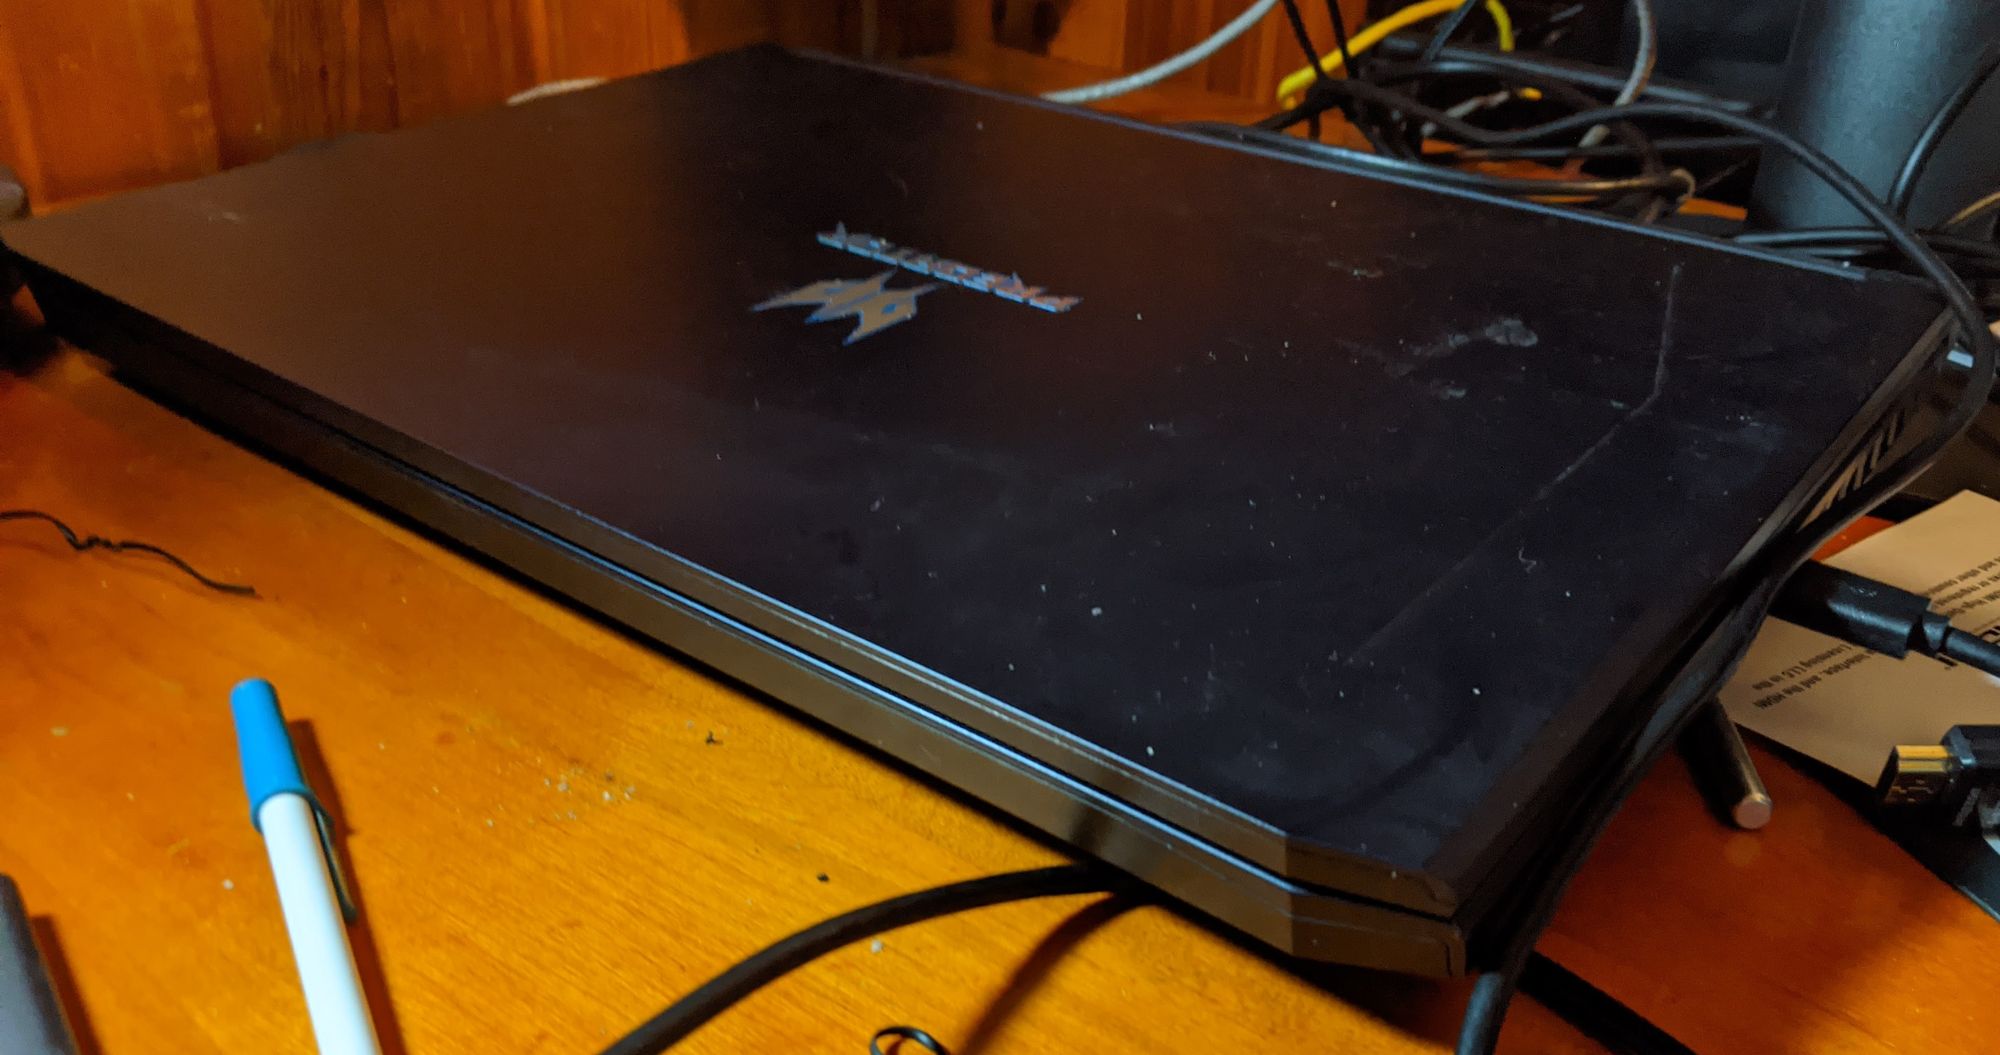
For many years, I didn't have a desk, really, except my actual day-job workspace. One of the ways I maintain work-life balance is being nearly militant about not using the office for not-day-j0b work. So for personal use, I mainly bought laptops, and gamed from bed. My last tech refresh included a large, powerful gaming laptop, and a slimmer Surface Pro, the former mainly as a stay-at-home gaming rig, the latter for when I was out and about, which was often.
COVID Times meant I was home a lot more, so I finally set up a personal nerdstation in my mancave. That started me thinking that my next main machine might as well be a desktop. Researching gaming desktops led me to wonder if it was worthwhile to build one. Watching reviews and build videos (I'll drop some YouTube channel links below) convinced me that it was feasible for my skills—not easy, because again, I'm rusty at it, but still within my capabilities, and possibly a worthwhile challenge. The final straw for this was the announcement of the NVidia RTX 3080--a significant generational improvement over the GPU I'm currently running.
Component choices
What follows is the parts list, but also the reasons why I chose these specific components. Broadly speaking, in nearly every case, it was a result of extensive trawling of YouTube reviewers and other Internet review sites, but each component was chosen because it fit a particular "sweet spot" for me, which I go into, along with alternatives I considered (and you should consider, possibly, if you decide to follow my lead, but have different needs!)
Unless otherwise noted, all component prices are based on what I paid at MicroCenter on 5 September 2020. These components are commodities and subject to market fluctuations. That said, prices are pretty stable right now.
Case: Lian Li Lancool II Mesh RGB
Cost: $89.99
Relevant links: Manufacturer's page, Hardware Canuck's review, Christopher Flannigan's review (exhaustive review of cooling performance)
I could go on for hours (I have gone on for hours, in fact, if the right button was pressed) about the need to keep a system cool. I abandoned Apple altogether after years of being an Apple fanboy because of how they have neglected cooling in favour of thin and sexy. I chose my gaming laptop--a heckin' chonker of a laptop--because of its cooling specs. So when I went delving into researching cases, priority one was: how well does it encourage airflow for cooling. The Lancool II Mesh and Mesh RGB both consistently rated highly, not only for airflow, but for other things you care about in a case. Cable management is relatively easy, there's lots of room to grow, and you get a lot for your money.
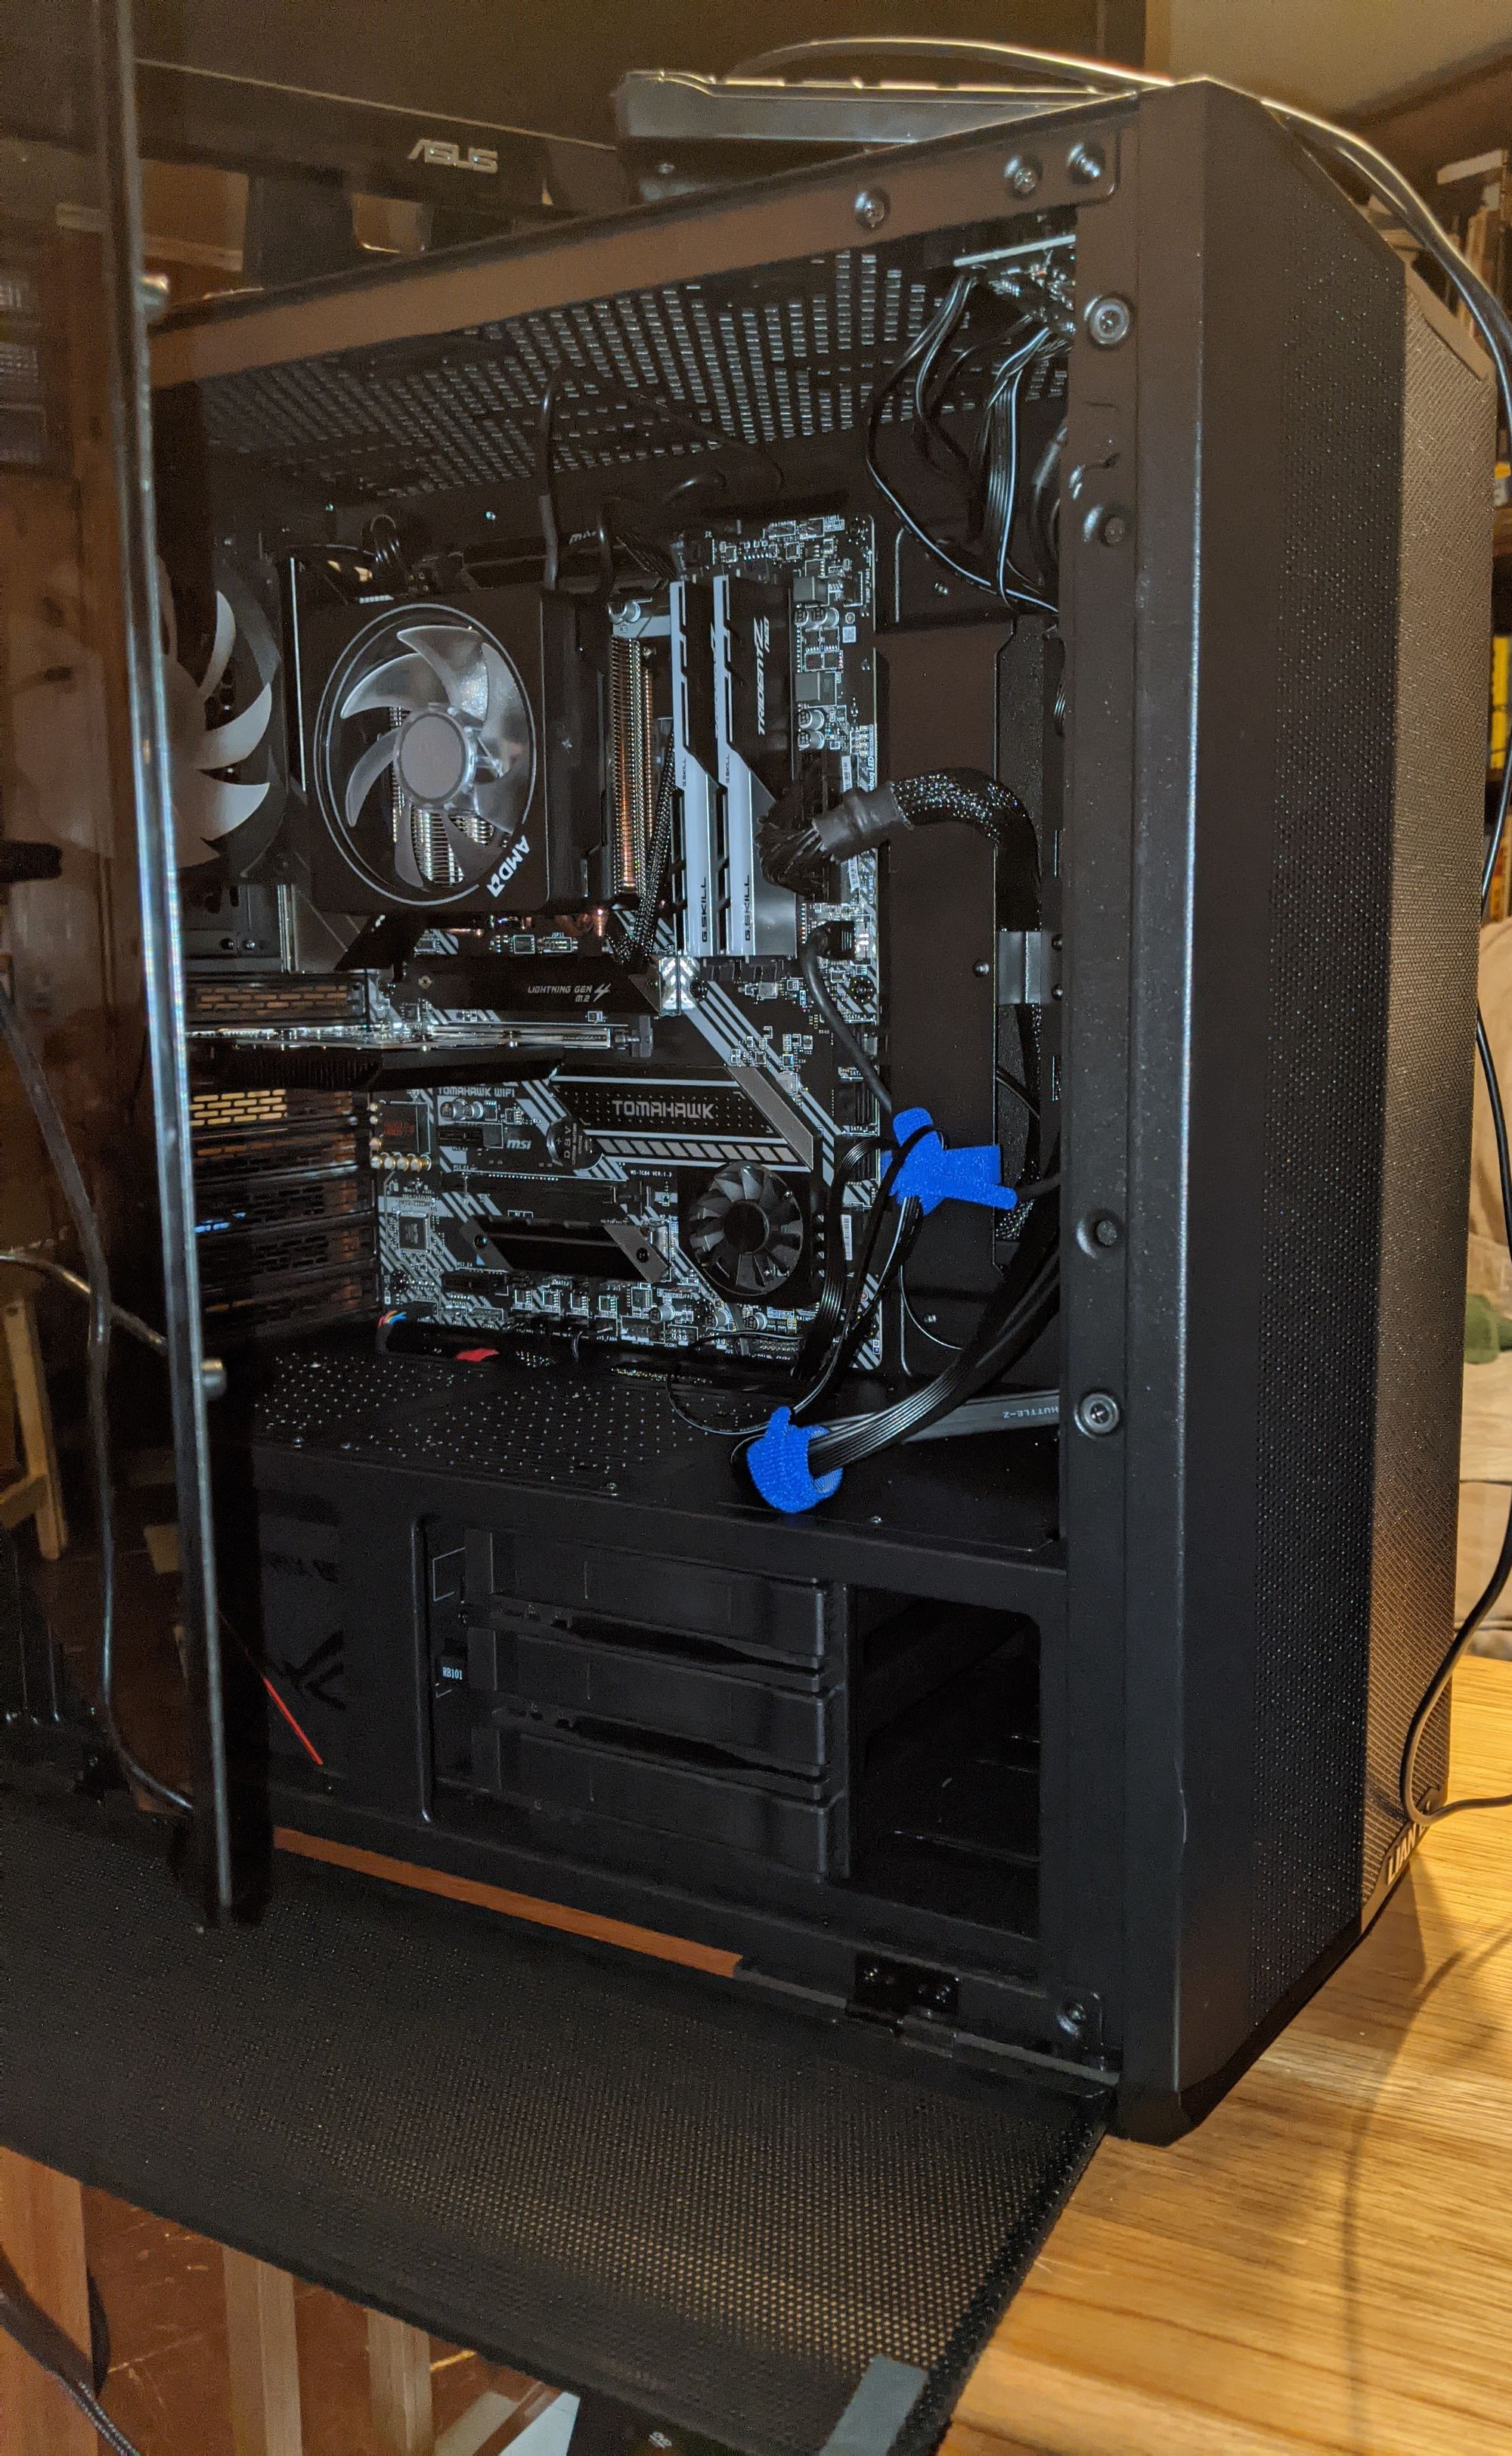
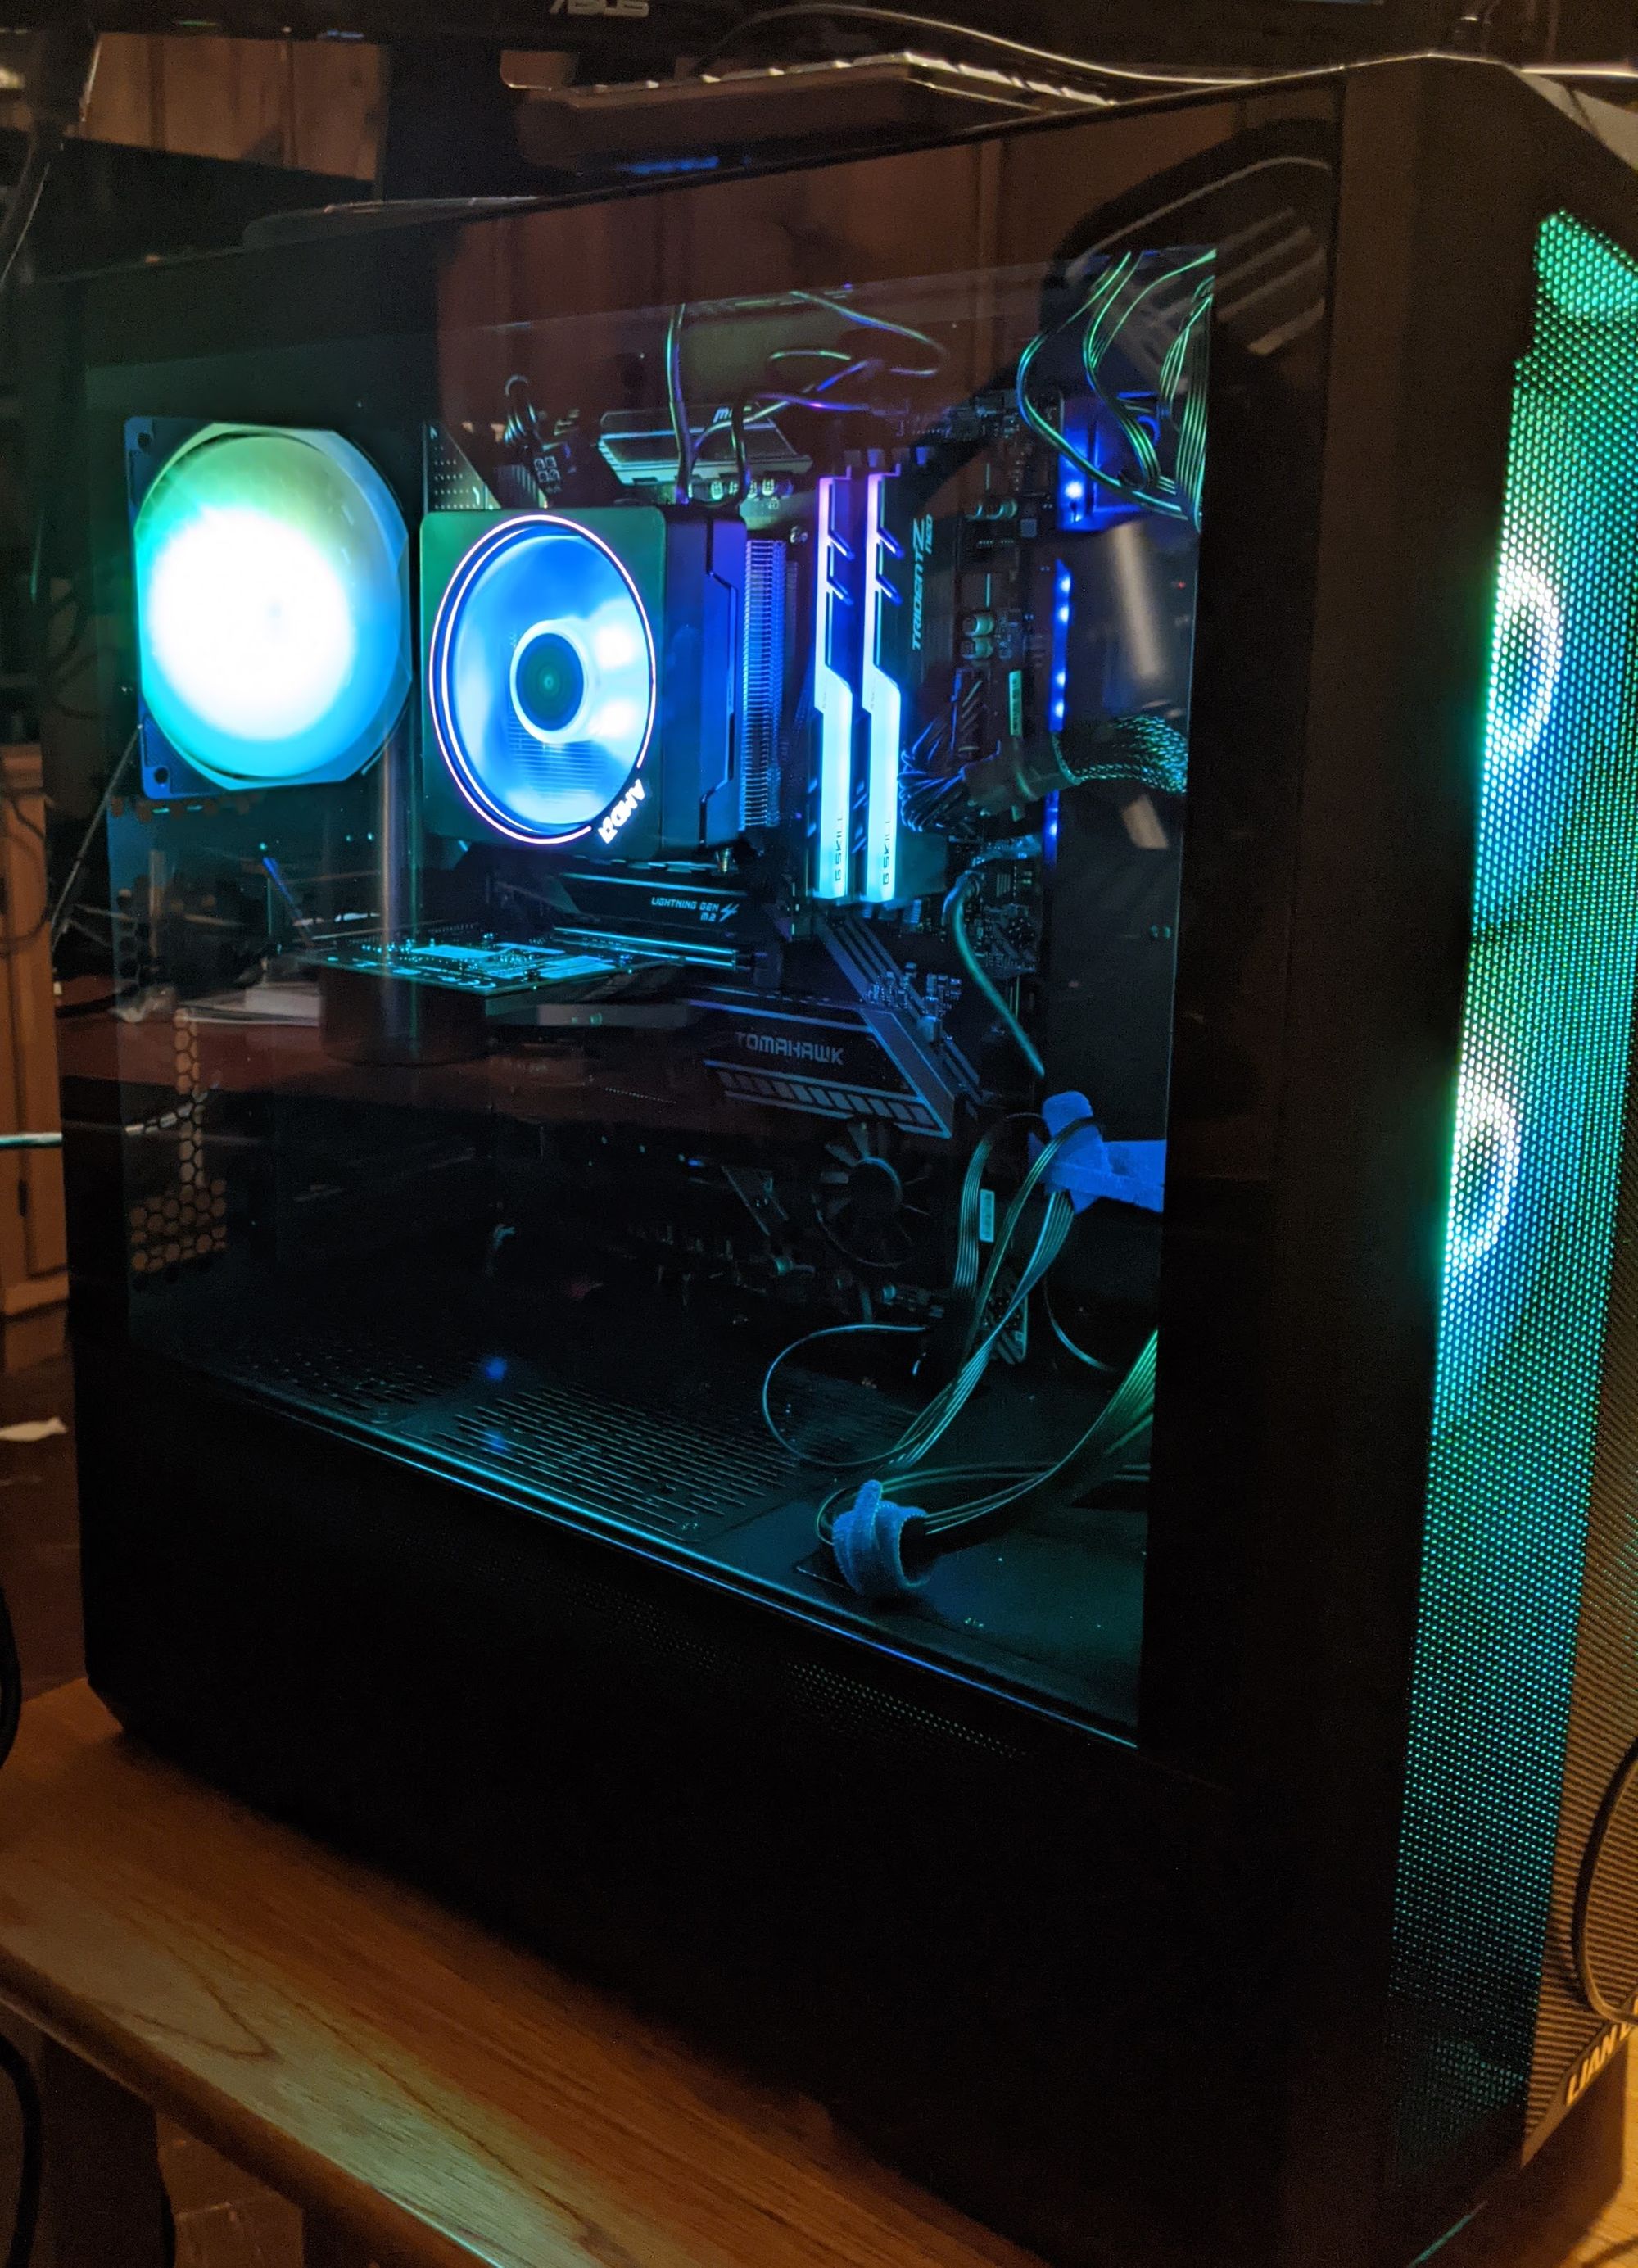
The case comes with three fans, mounted up front by default. As the name RGB suggests, the fans light up, and you can either control them just from the front panel, or if your motherboard supports Addressable RGB, you can hook them to the motherboard and let software control the case fans in conjunction with everything else. The fans are mounted in a rack that is easy to remove, the fans themselves can be removed and place elsewhere easily, or replaced with a radiator or different kinds of fans if you have preferences, but I don't see anything "wrong" with the stock fans at all. I chose to move one of the three fans to the back of the case, creating a "push-pull" configuration to ensure airflow.
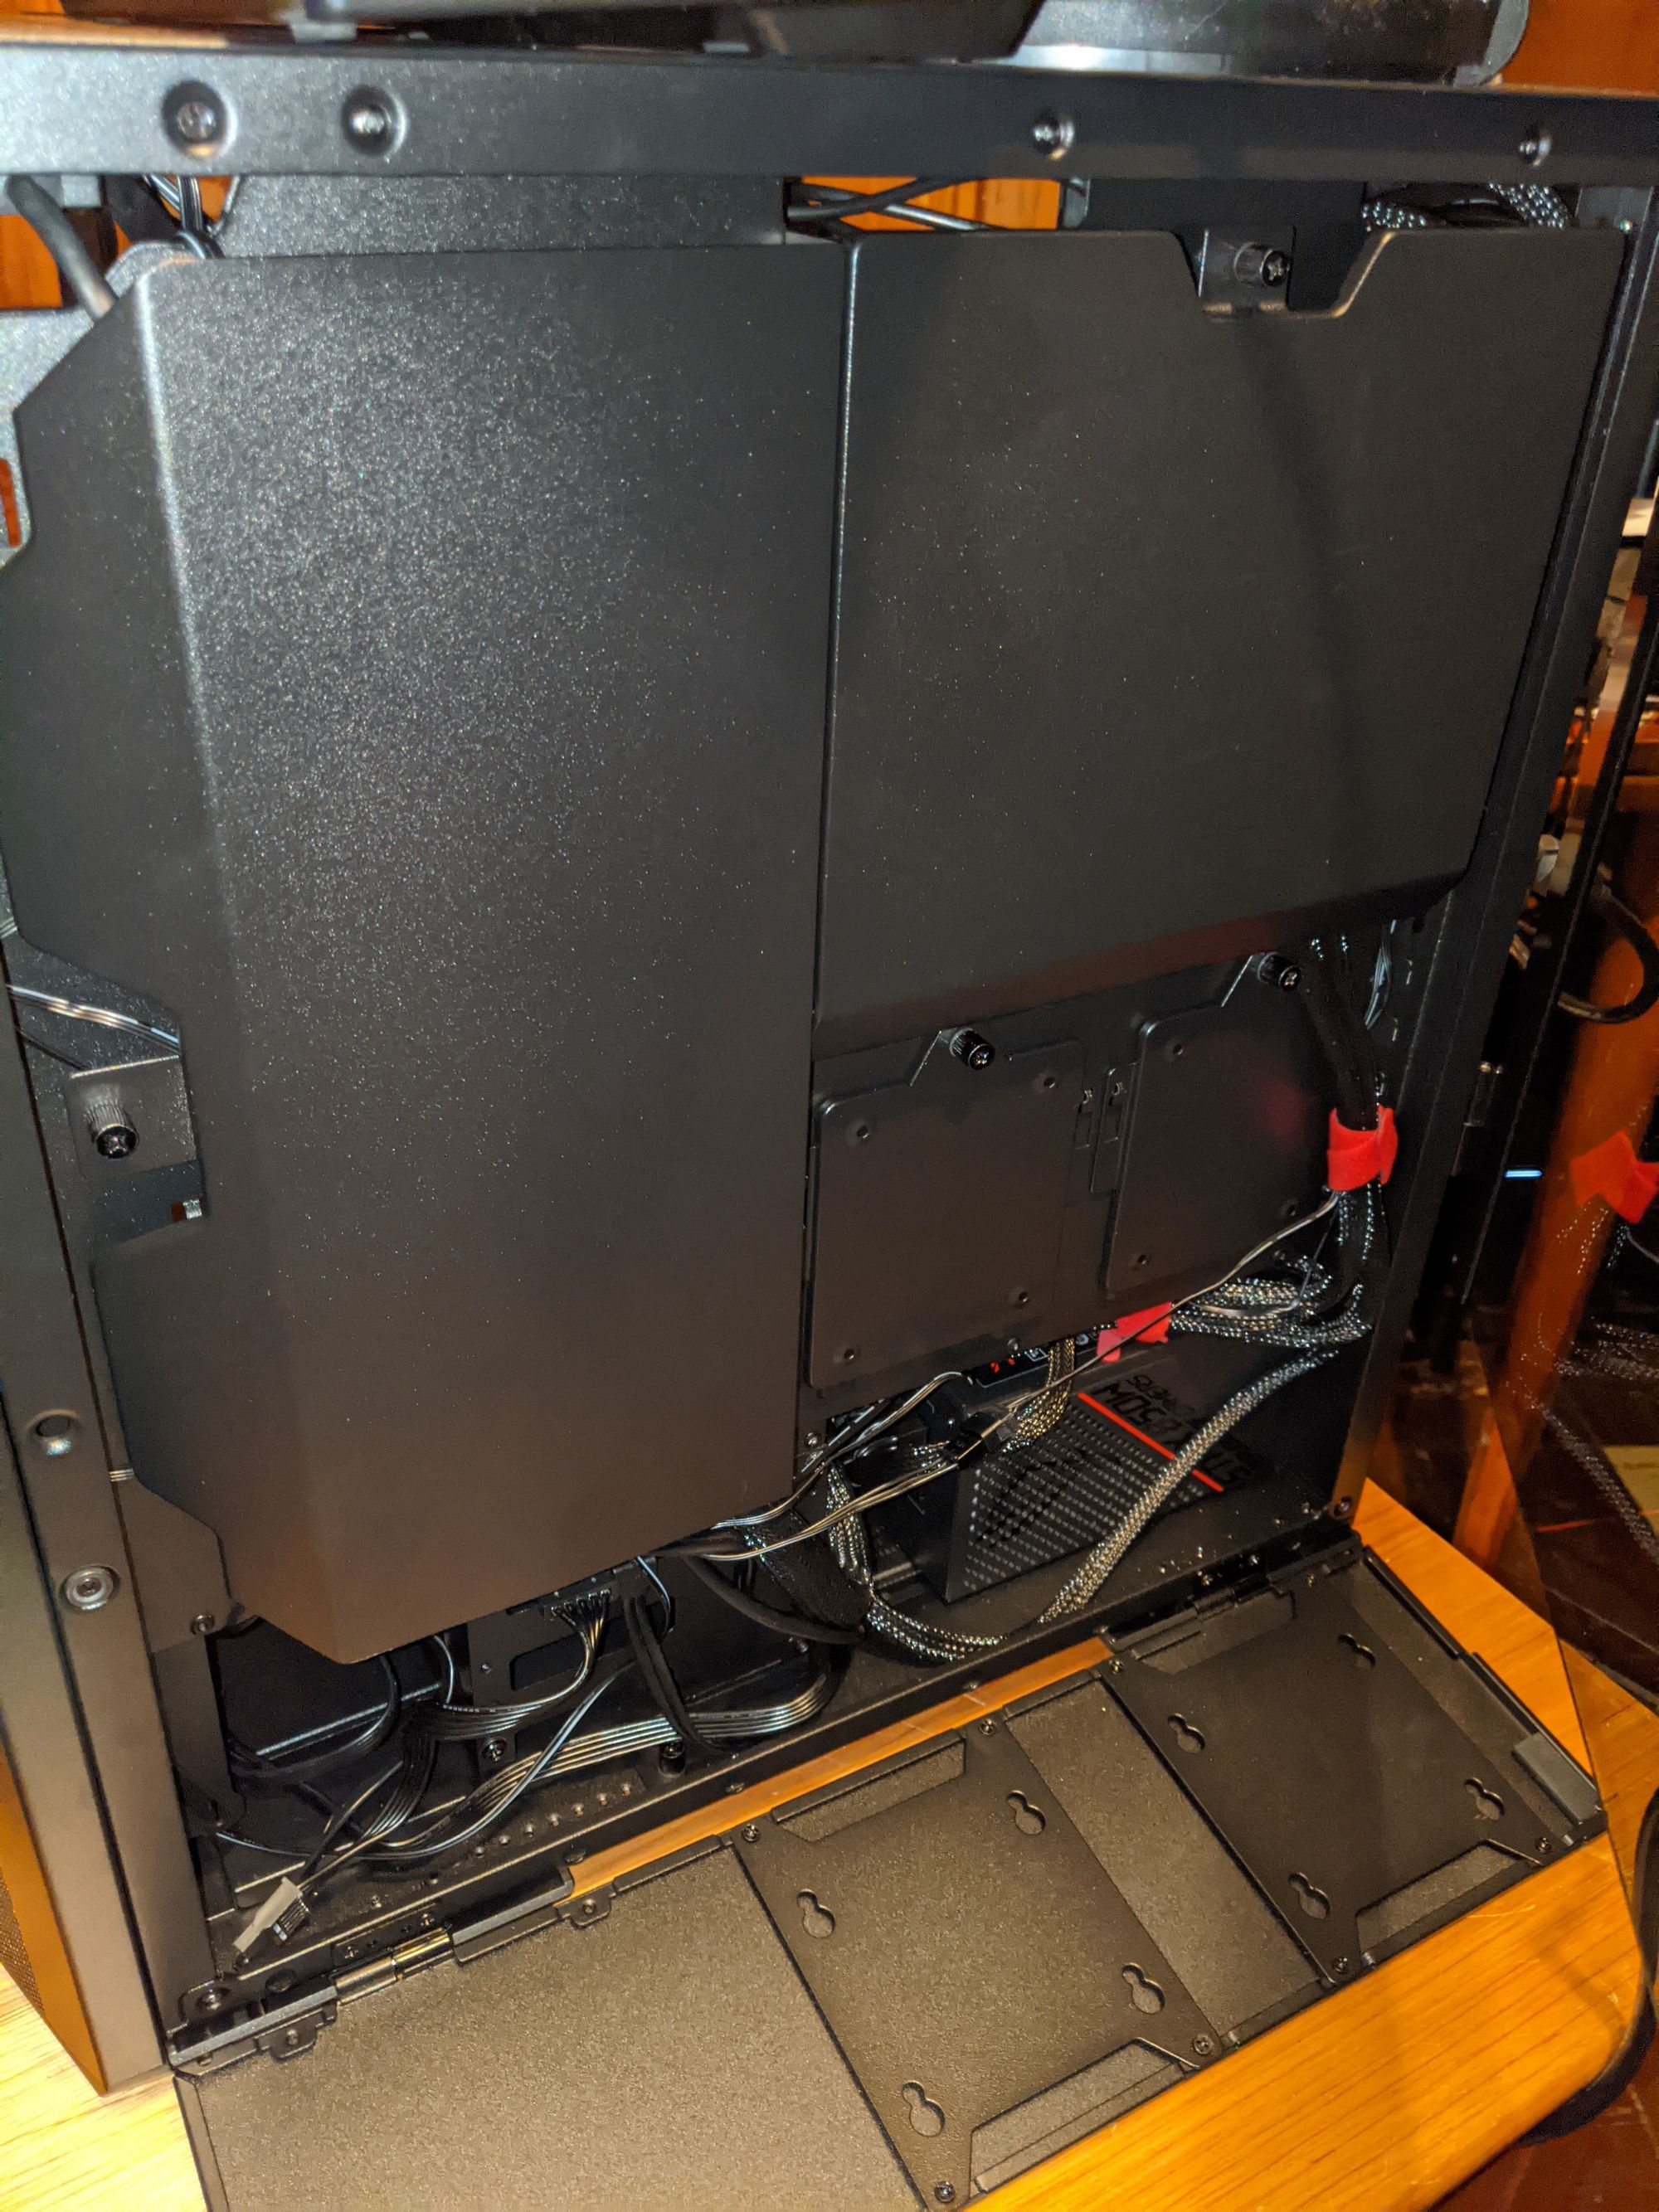
You can also mount additional fans to the roof of the case (or a liquid-cooler radiator, which can also be mounted in the front-of-case rack), and in the lower-third of the case, above the "basement", where the power supply and a three-slot 3.5" drive cage live. Basically, if you can't get enough air to flow through this case, it's because you're trying to run it on Mars, because the case gives you plenty of options.
It's a full-sized case, which leaves lots of room for expansion. There's the drive bay I already mentioned; there's also four mounting points behind the motherboard plane for 2.5" drives, and the places above the basement where you can mount fans could also mount drives. I'm not going to be using this as a server, but you could, very easily.
The one wart sort of consistently pointed out by reviewers is that the front mesh panel has a handle that lets you pop it off, but also leaves a big gap between the mesh panel and the rest of the case's floor, which could be a dust magnet. This biases the case in favour of a "positive pressure" airflow design (more fans pulling air into the case than actively exhausting it), since a "negative pressure" regimen would risk sucking dust up through this gap. If you're already an experienced builder and have a bias toward "negative pressure" airflow, you might not like this case so well.
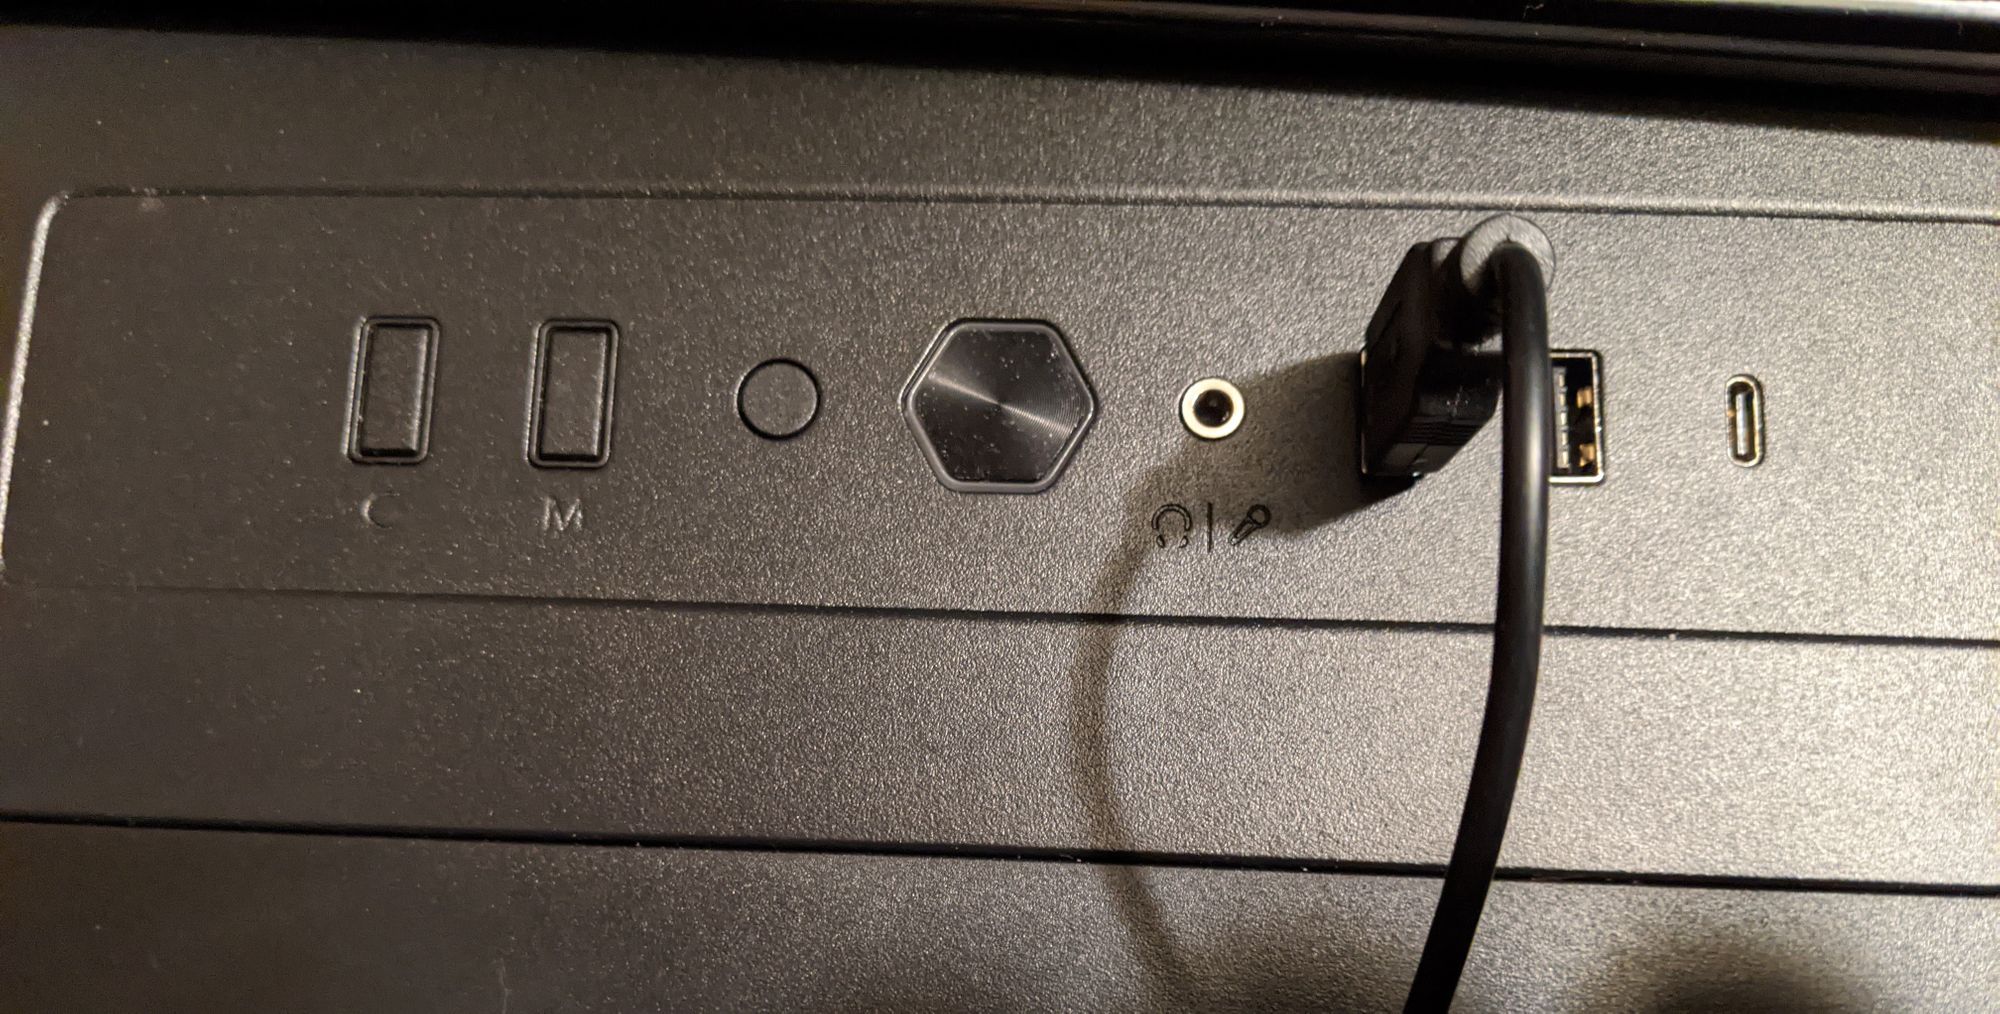
The other oddity is that, while the front panel has a spot for a USB-C connector, it's not populated. You can buy a $12 cable, though (and I did) to populate it if your motherboard supports it (which it does in this case). Installing the cable requires popping out the PCB board with the front panel buttons and ports on it, but that's not actually very difficult when you're already building the whole system anyway. Four screws and the board pops out. Pop the cable into place, one screw to secure the cable to the PCB, and pop the board back in and re-secure it.
Motherboard: MSI X570 Tomahawk Wifi
Cost: $219.99 advertised, $199.99 thanks to a bundle discount with select Ryzen CPUs.
Relevant links: Manufacturer's page, Hardware Unboxed review
Literally right before I was going to go to MicroCenter and buy a different board, I saw the review linked above from Hardware Unboxed in my YouTube stream and decided to watch it to see what they said. Imagine my (pleasant) surprise to discover that this was a motherboard that beat most of its competition, including more expensive boards, as well as the board I had chosen. My original choice was $20 cheaper, and no slouch, but the extra $20 got me a motherboard whose power circuitry ran significantly cooler than both past MSI boards (which gained a bad reputation as a result) and my original choice. MicroCenter had this board in stock, so it replaced the other one in my shopping list.
You see the theme here: keep things cool!
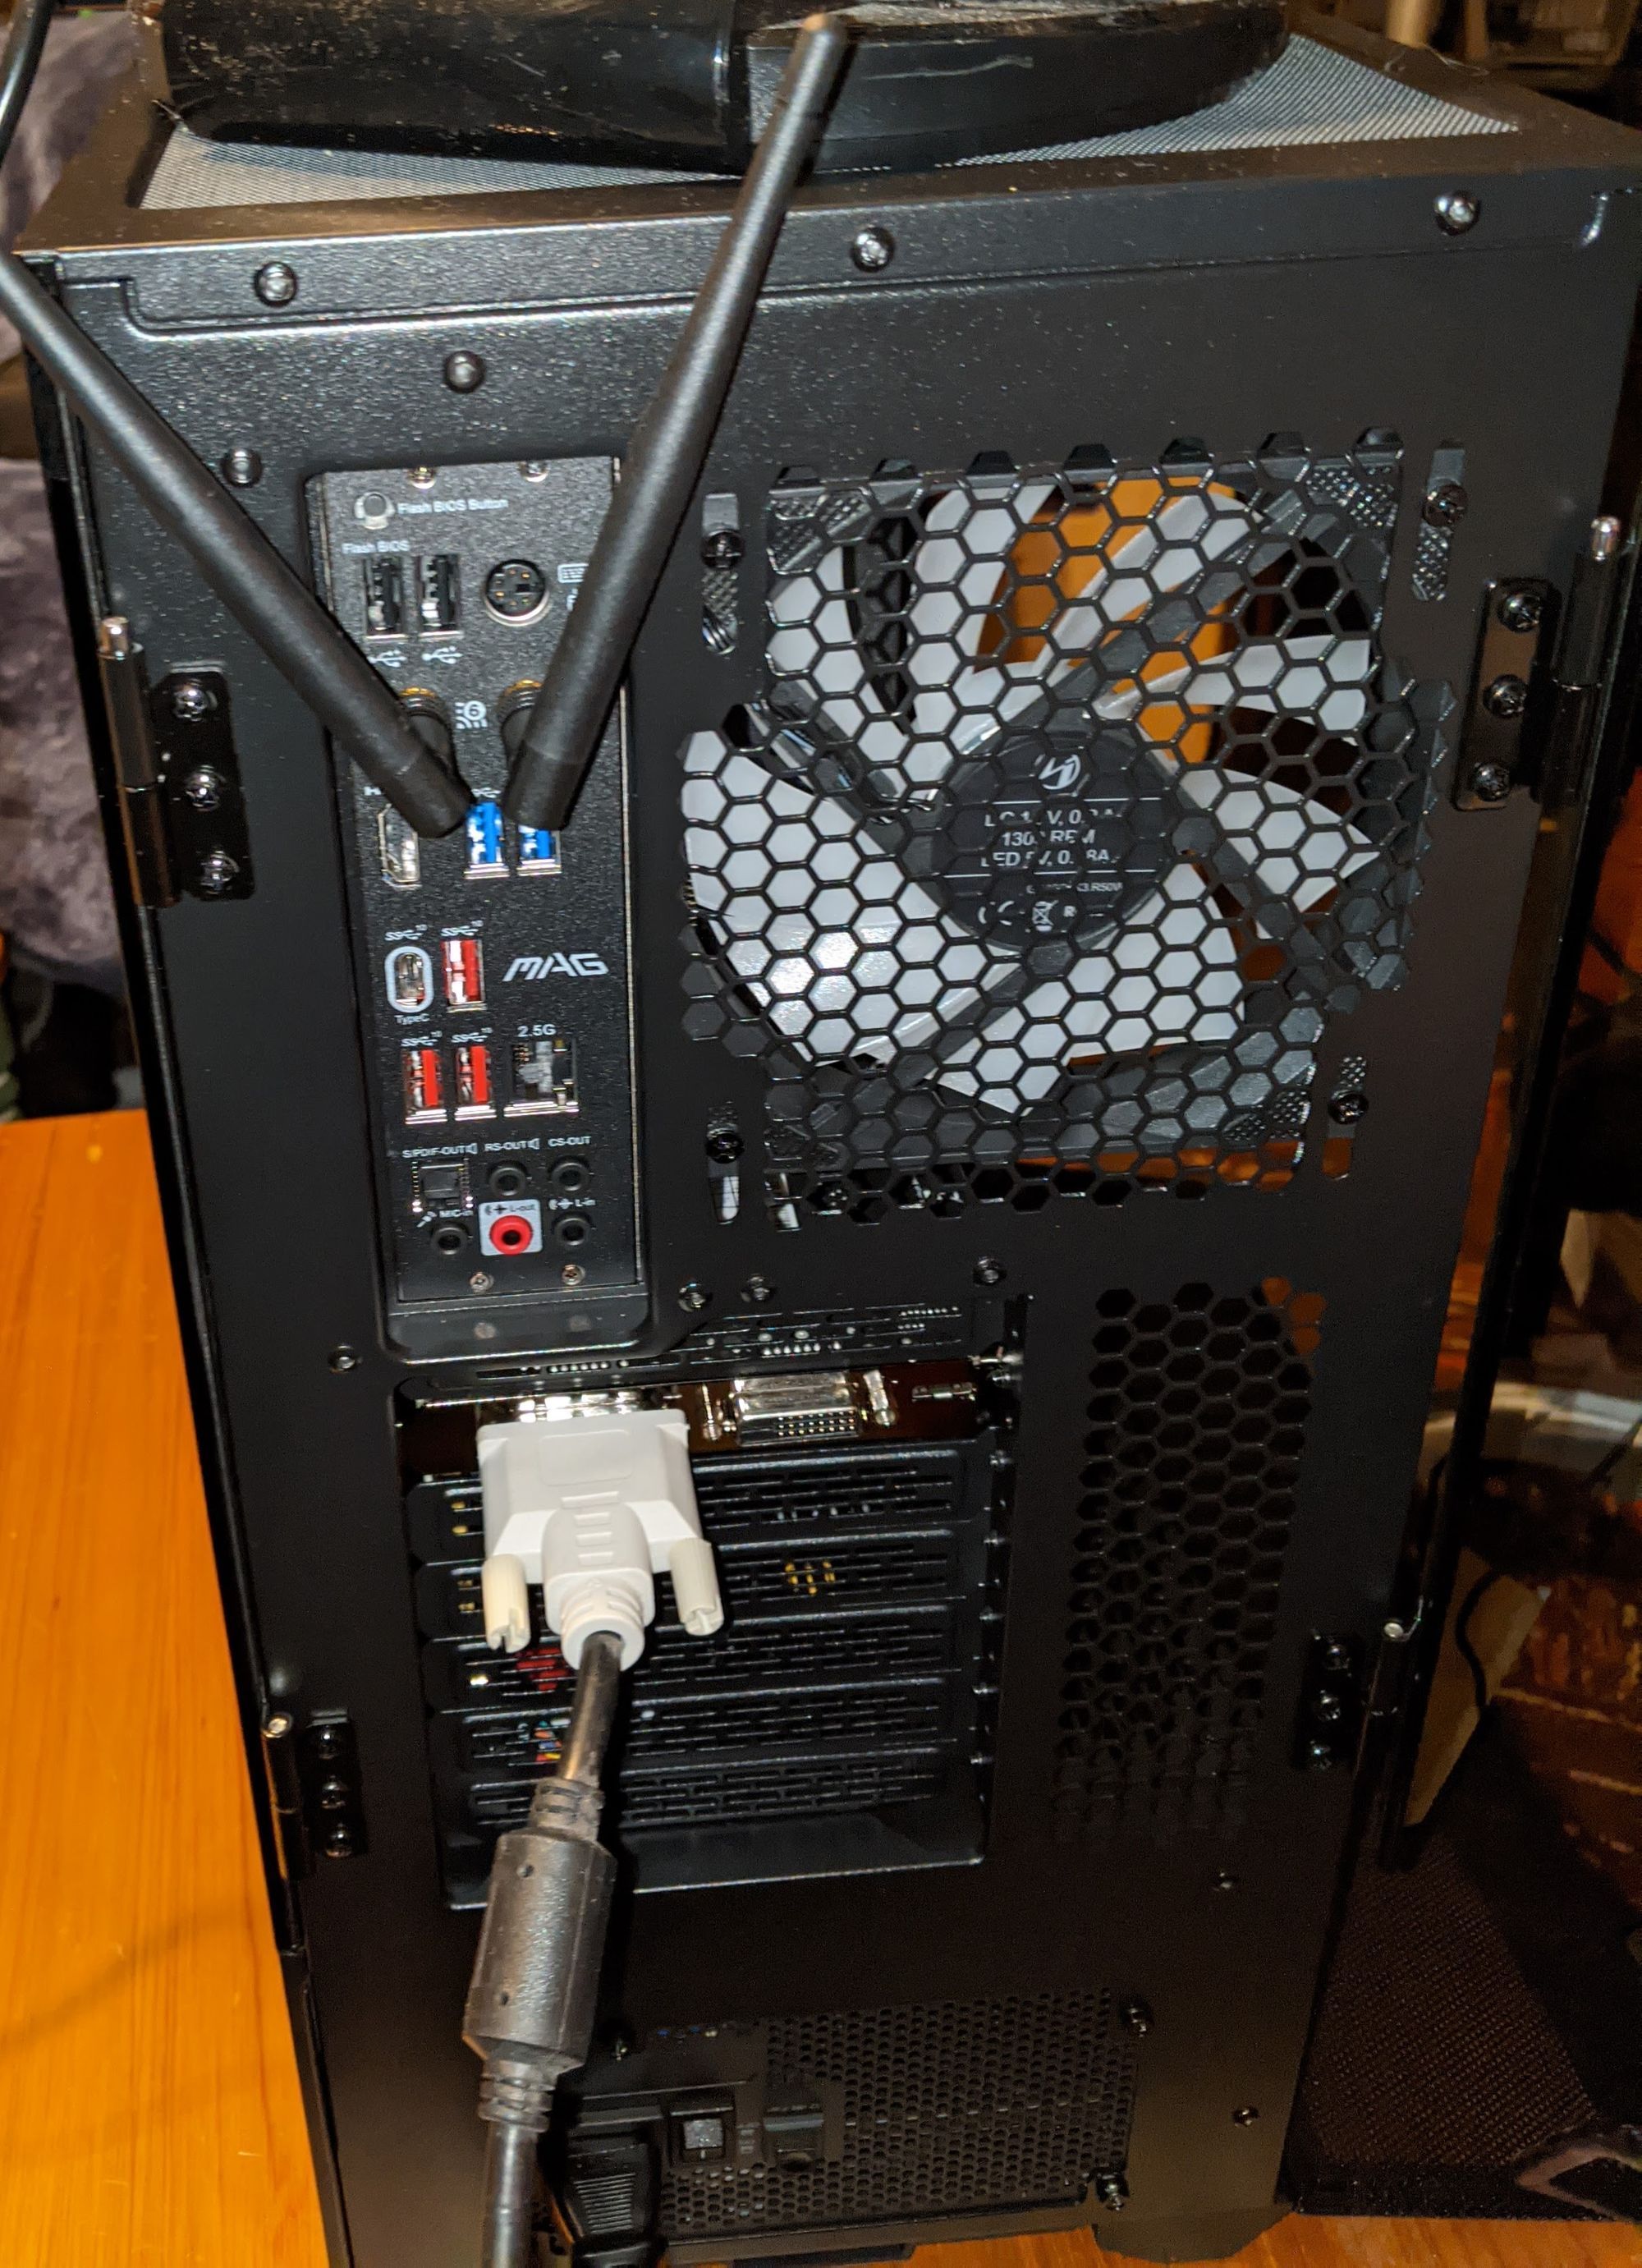
This board offers just about everything you would be looking for in a modern ATX motherboard: lots of USB ports (2.0, 3.0, 3.1, and a single 3.2 Gen 2 Type C) on the back panel, 2.5 Gb Ethernet, WiFi 6, lots of power headers for fans, and one dedicated to a radiator if liquid cooling is your preference, as well as two older RGB and two aRGB headers to control lighting (aRGB can be daisy-chained, so two is plenty, while one of the regular RGB headers can be used for the CPU cooler). It supports up to 128 GiB of RAM, two M.2 SSD sticks (both PCI-E 4.0), and is designed so that a three-slot-high GPU card (like the upcoming RTX 3090) won't block the chipset fan.
It also has a feature which some people might think is obscure, but is really handy: you can upgrade (or recover) the BIOS without even having a CPU installed. Insert a USB flash key with the BIOS on it in a specific slot, push a button, and the board will re-flash itself. Yes, this is a potential security risk, but given that I managed to brick the BIOS using MSI's own updater Windows-based BIOS updater after I'd gotten everything put together and Windows installed on it, I was very grateful for this feature!
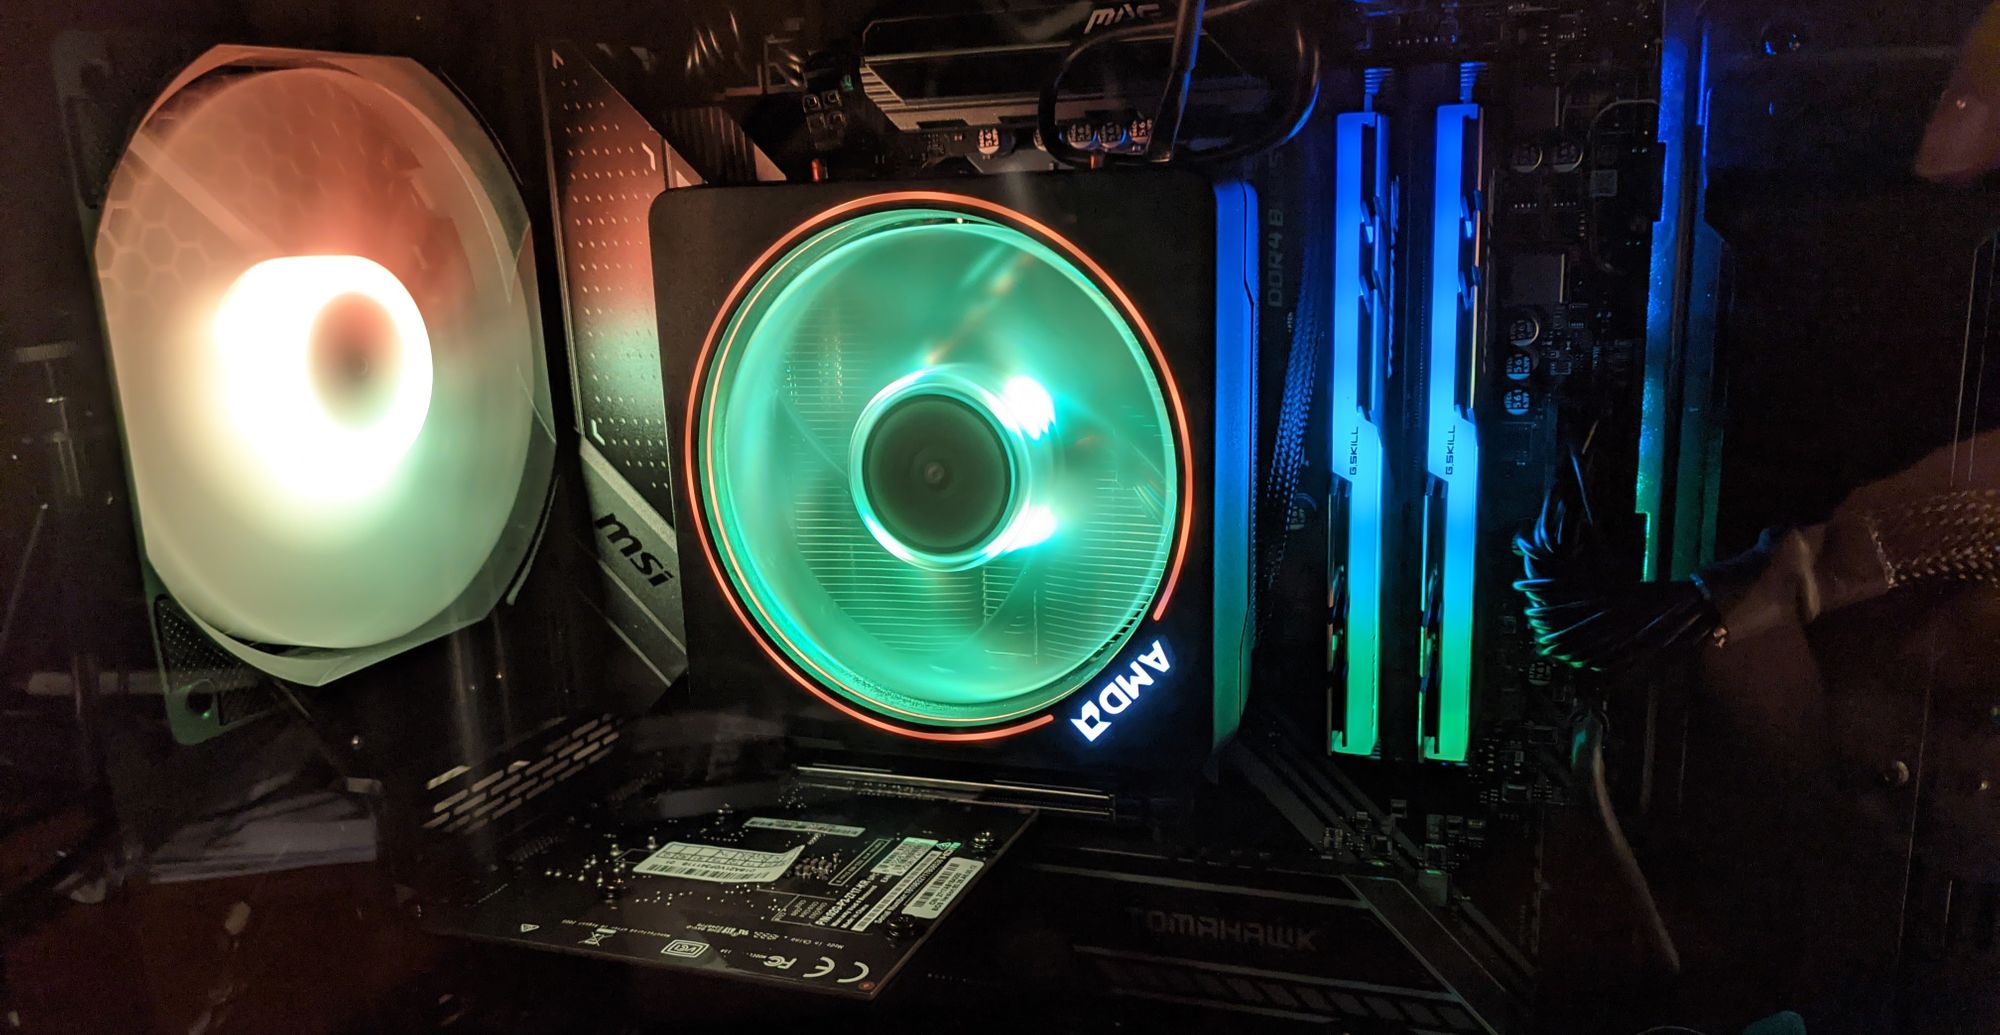
Also, from a sheer bling standpoint, it will drive RGB-enabled RAM sticks, and has LEDs on the back edge that sync up with the rest of the RGB fest.
MSI's manual included with this board, by the way, is some of the best printed documentation I've seen in a very long time.
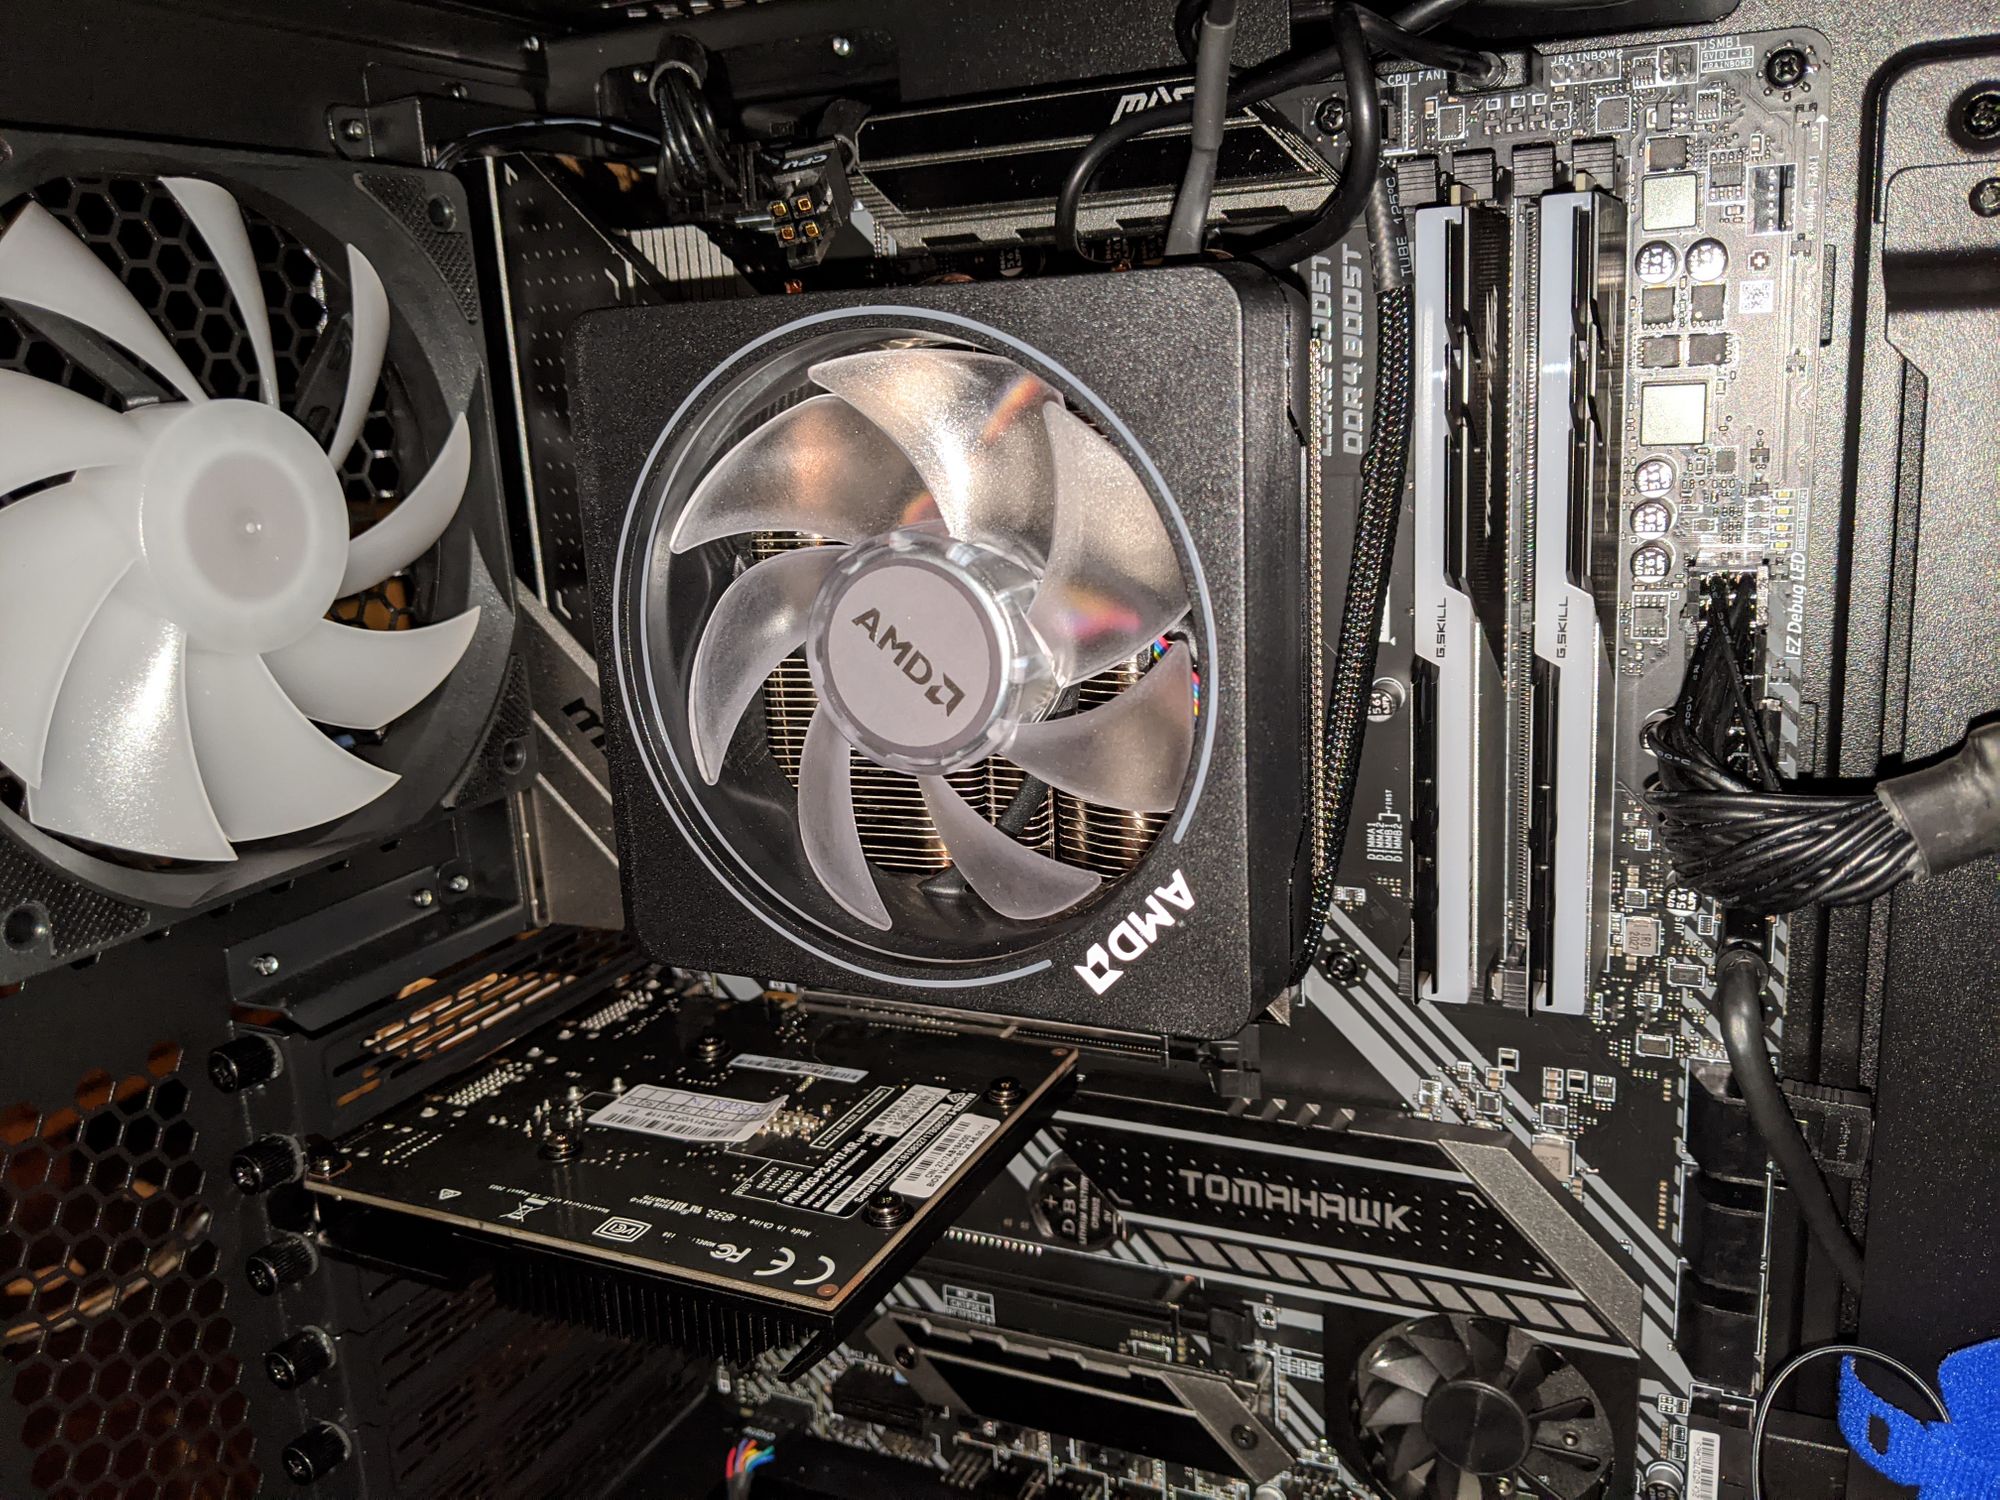
CPU: AMD Ryzen 9 3900X with bundled Wraith CPU cooler
Cost: $399.99
Relevant links: Too many to mention for general comparison/review purposes, but Hardware Unboxed comparison of using the Wraith cooler vs. an AIO water-cooler
There's a lot that went into this choice, including the broad question of Intel vs. AMD. On a strict gaming performance metric, Intel still holds a bit of an edge slightly higher prices, per tier. But I do other things that gaming, and on a lot of other metrics, AMD has an edge. It's a horse race in which, until recently AMD was an also-ran, but they're rapidly catching up and threatening to pass Intel soon. In the end, I decided that, bang-for-buck, I was going AMD this time around.
I chose the 3900X specifically because it's only two notches below the top spot, but significantly cheaper. The top consumer-grade CPU from AMD right now is the Ryzen 9 3950X, which lists for $750. The 3900XT, which is just a slight bump on the 3900X, is only slightly more expensive at $420, but does not include the cooler. Honestly, if I hadn't decided to use the included cooler, then the extra $20 would have been worth it, but having decided to not spend an extra $200 on water cooling right now, the 3900X seemed like more than enough for my purposes.
The decision not to go with liquid cooling yet came from the analysis linked above by Hardware Unboxed, which showed that, while a liquid cooler would certainly keep the system significantly cooler, the bundled Wraith cooler kept the CPU cool enough for most purposes. If I planned to overclock a lot (or if I do so in the future), I would have made a different choice. The nice thing about having built it myself is that I can also change it myself if I change my mind later.
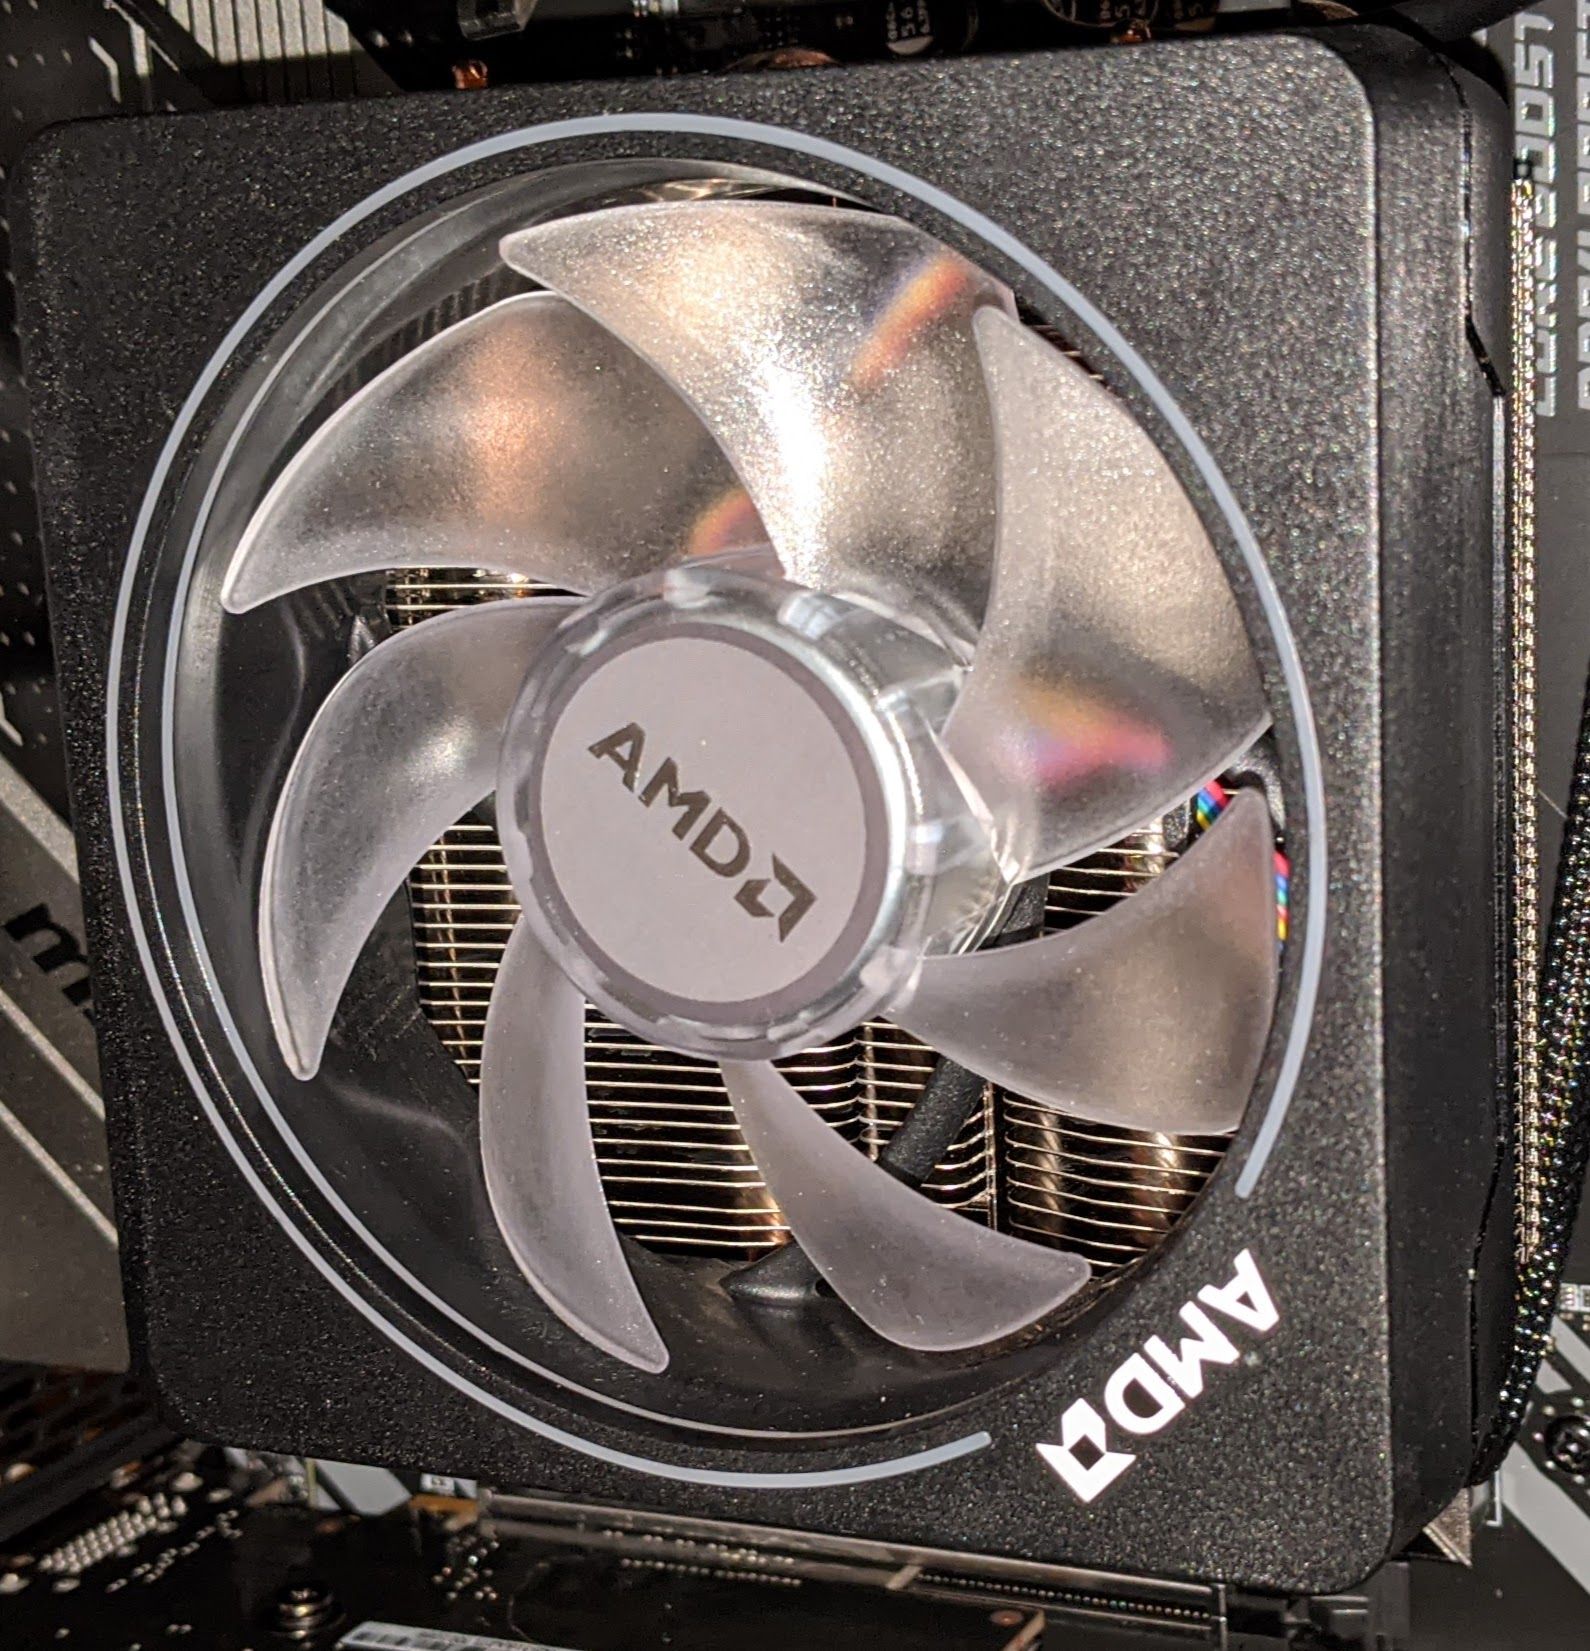
By the way, if you haven't built a system in a while? Air-based CPU coolers have gotten rather large. The last time I did this, it was just a little heat sink. Now, it's a thick copper plate, a lot of copper heat pipes, leading to a heat sink block, topped by a fan (with RGB bling, natch).
If you are following in my footsteps but want to save a bit more money, my research suggest that, for many purposes, the cheaper 3600, 3700, or 3800 CPUs will be quite adequate for many people's needs. The 3600X retails at $250 and can be had on sale often for $199, which is a nice linear scaling--half as many cores, half the price.
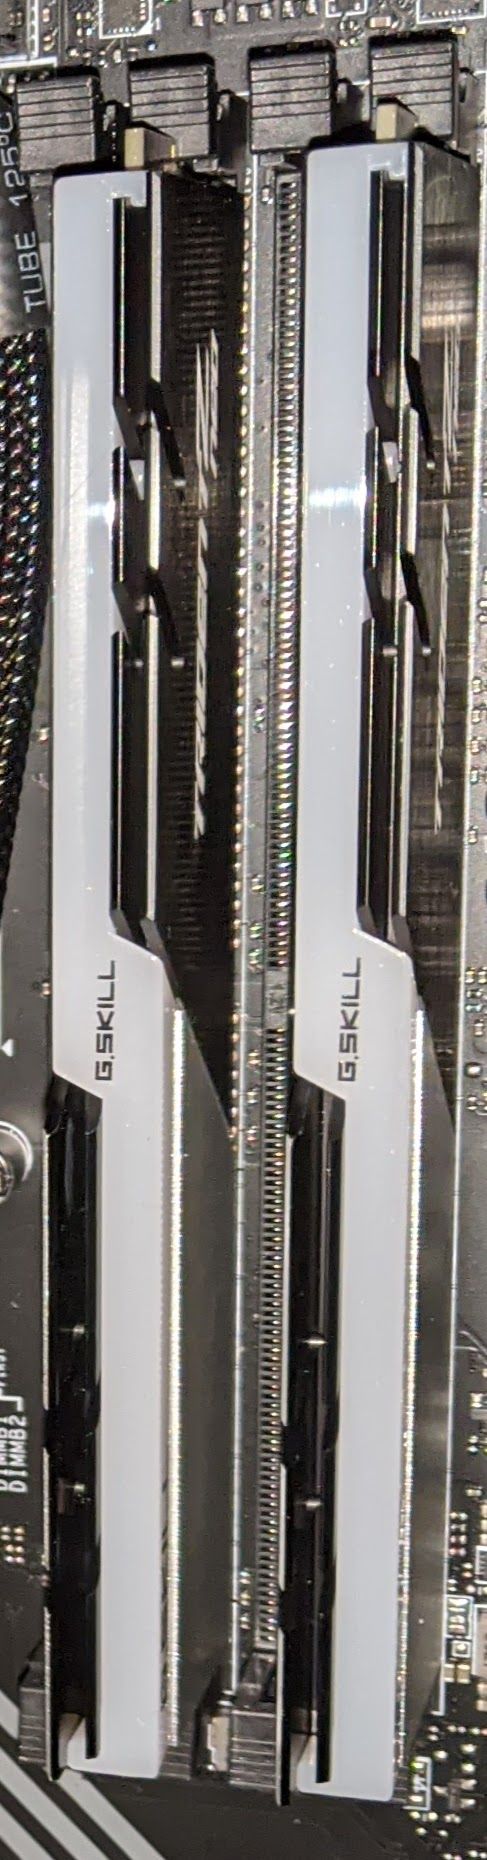
Memory: 32GiB (2x16GiB) G.Skill Trident Z Neo RGB DDR4-3600
Cost: $169.99
Memory is one of the best boosts you can give to your system. Modern operating systems will use RAM as a cache for frequently accessed files, reducing disk access. With modern SSDs, the boost isn't as huge as it used to be, but it still exists. I knew from the start the least amount I wanted in this build was 32GiB, and I almost indulged in 64GiB. The motherboard would support up to 128GiB in four 32GiB sticks, but those are hard to come by--another reason I didn't go for 64GiB. I want room to expand later without having to throw out what I have.
G.Skill has a good reputation and reviews. I didn't bother with links, because you don't really find a lot of separate reviews, but when you watch build videos, they're often building with G.Skills.
Having already indulged in a bunch of RGB-ism, I indulged in sticks that participated in the motherboard's RGB controller.
Storage: 1TB Inland NVME M.2 SSD & 2TB Seagate Barracuda 3.5" SATA
Cost: $119.99 for the SSD, $54.99 for the Barracuda
SSDs are wonderfully fast and reliable...but also expensive on a dollar-per-byte basis. The rule of thumb is to use a high-end SSD for a C: drive, and use either a SATA SSD or good old fashioned Winchester drive for more general storage. I chose to go with a decent sized SSD for C:, and then go old-school for E: with the Barracuda, not least of which because I knew this case had the room for it. I'm also thinking about raiding some old hardware for additional drives. I've got two drives in the last system I built myself that have been sitting entirely idle for years; and a bunch of scattered 2.5" USB drives that can probably be pried out of their cases and bolted into the case. It will create a bit of a hodge-podge but should leave me plenty of places to stash stuff.
Power Supply: Asus ROG Thor 850W 80+Gold
Cost: $184.99
The nice thing about power supplies is that their certifications give you a decent idea of what to expect, regardless of brand. You want to look for:
- A fully modular supply--that is, one where all the cables get plugged in on both sides and nothing is hard-wired. The older hard-wired supplies, you wind up with a lot of cable you don't need, or else missing cable you do need!
- 80+Gold or better. This is basically a certification a device's efficiency. They get a lot more expensive for a given wattage at Platinum and Titanium levels. It's also harder to find those levels in lower wattages, because it's simply easier to be more efficient at a higher level. I actually meant to grab the Platinum, accidentally grabbed the Gold, did some reading and decided it was fine.
850W is going to be necessary to drive the behemoth that is the RTX 3080. This is actually one of the controversial aspects of the new generation of NVidia cards—they're seriously driving up the power requirements.
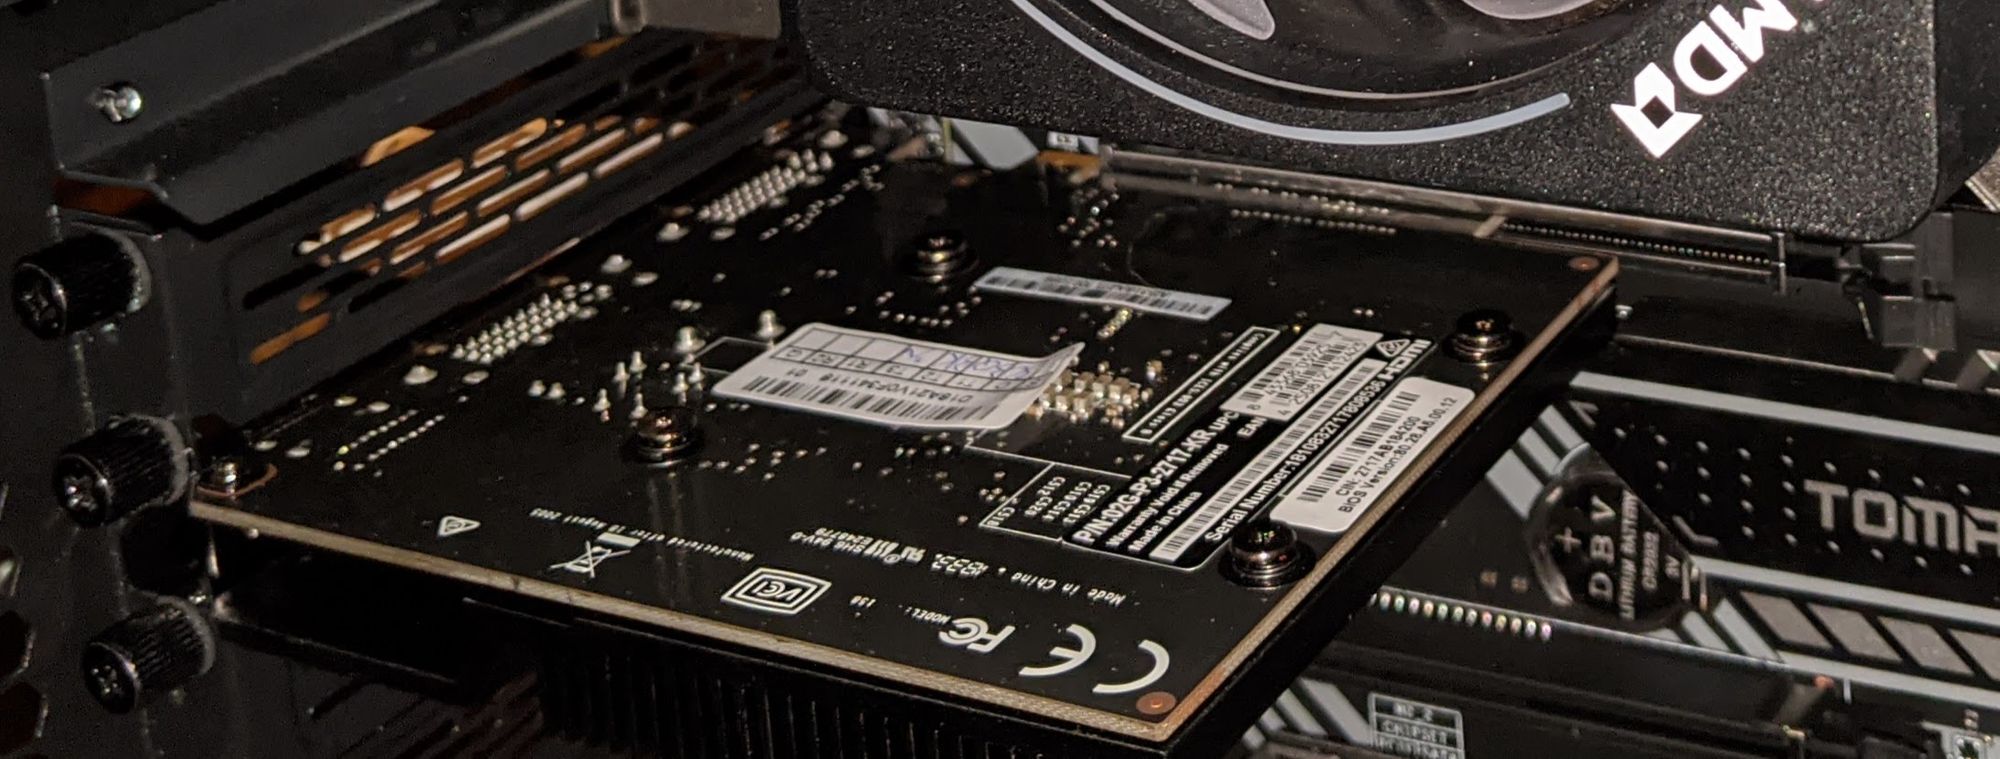
Graphics: NVidia RTX 3080 (when it's available)
Cost: $699.99
This is the centerpiece of the whole build, and in many ways the reason for it. It's also not actually available yet, but I wanted to use the extra time of Labour Day Weekend to build the rest of the system.
So right now, I'm actually using a much older Nvidia GT 710, which my wife had sitting around waiting to go into a box of hers to revive it (in exchange for borrowing it, I will install the card for her in her box when I'm done with it). This occasioned some late-stage scrambling when I realized that I didn't have an HDMI cable that had mHDMI (m for mini) on one end, which meant I needed a DVI cable...and a monitor that could take in DVI! Fortunately, I still had one older DVI-able monitor.
Comparing the GT 710, which isn't even a full-length PCI card, with the upcoming monstrosity of the RTX 3080 is...amusing :-D
Operating System: Windows 10 Pro
Cost: $199
Yes, OK, I know. Windows. Microsoft. It's fashionable to hate on them. It's fashionable to hate Windows 10 specifically. I don't. I also don't love them. They're a means to an end, which is to be able to play all the games that interest me. If gaming were not my aim, I might well run Linux on the box...except that Linux on the desktop remains a tragedy of utterly inadequate user interface design--don't @ me, bro, I'm not interested. Been at this for 32 years now. Linux user interfaces remain mired in the stone age. I code for Linux because Linux remains an excellent server environment. I don't run Linux on my desktops or laptops because the user experience is miserable.
I do miss MacOS, but...well, see way above for a mini-rant about why Apple is no longer my jam.
So, Windows it is, and Pro so I can have a measure of control over things like updates.
Building a system
I'm not going to go through the entire build in detail—I've recorded it, as I said, and I plan to edit and post the video, but here's a few bits and pieces:
- Watching a lot of videos did, and did not, prepare me for the work of actually doing it. Professionals who know what they're doing always do it easier. That said, h/t to JayzTwoCents, Hardware Unboxed, Christopher Flannigan, and Gamers Nexus, who's YouTube vids were my main guides as I educated myself.
- The CPU cooler looks deceptively easy to get clipped into place. Maybe it should be, but it was actually tricky. Still, it hasn't fallen off, yet, so I think I got it!
- Dear case manufacturers: thank you for providing all the screws we could possibly need. Could you please next time maybe sort them all out into their own bags? I spent 25 minutes trying to secure the motherboard with a screw that only looked correct, but wasn't quite.
- Organization is good. Tools are good. I threw some money at iFixit for a tool kit and an organizer tray. It was a smart choice. I also bought me some colourful velcro cable ties--although the case and power supply both came with ample zip-ties and velcros as well, which was a nice touch. I just figured that a box that already had colourful RGB lighting should have colourful cable ties.
- RTFM. But also, sometimes, TFM does not tell you everything you need. The case fans all have a three-pin power plug--meaning actually three pins and not a missing pin somewhere. The motherboard fan power headers (of which there are six, total—one intended for the CPU, one intended for the pump of an AIO cooler, and four "system fan" headers) all have four pins. MSI's documentation makes it clear that the fourth pin isn't connected anything, but that still left me nervous that the plugs were not for those headers. The documentation Lian Li provided for the case--which is otherwise pretty good--did not make this clear either. I had to go to the product page on the website to see it in amongst the advertising copy.
- Knowing everything I know from this build, I could probably do another build in about half the wall-clock time, which all by itself makes it worth it. Especially if I actually remember the lessons!
I leave you with some shots around the finished build in its blingy goodness.